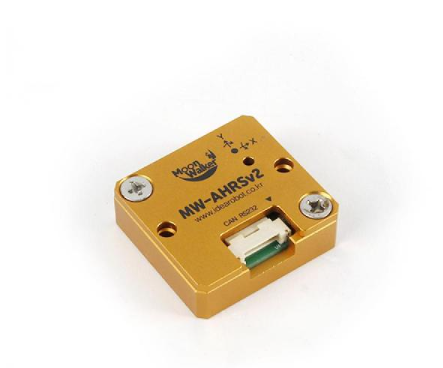
Fig 1. MW-AHRS IMU (v1, v2)
In this posting, NTREX MW-AHRS IMU will be mainly focused.
Environment : Ubuntu 20.04 + ROS noetic
1. Connection
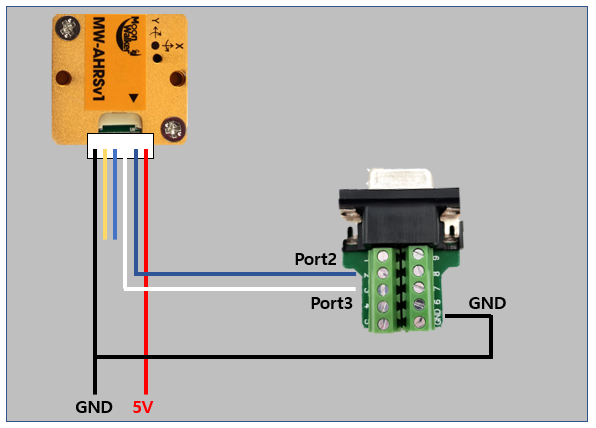
Fig 2. MW-AHRS IMU configuration
You should prepare DB9 RS232 connector and RS232 to USB-A cable.
Connect white line – port2, blue line – port3 and black line – GND from DB9 RS232 connector such as above figure.
Then put 5V power through red and black line.
2. Check Connection with Supported UI
The manufacturer supports UI for checking connection with IMU.
You can download via following link : https://www.devicemart.co.kr/goods/view?no=1310790
The connection checking is done under window environment.
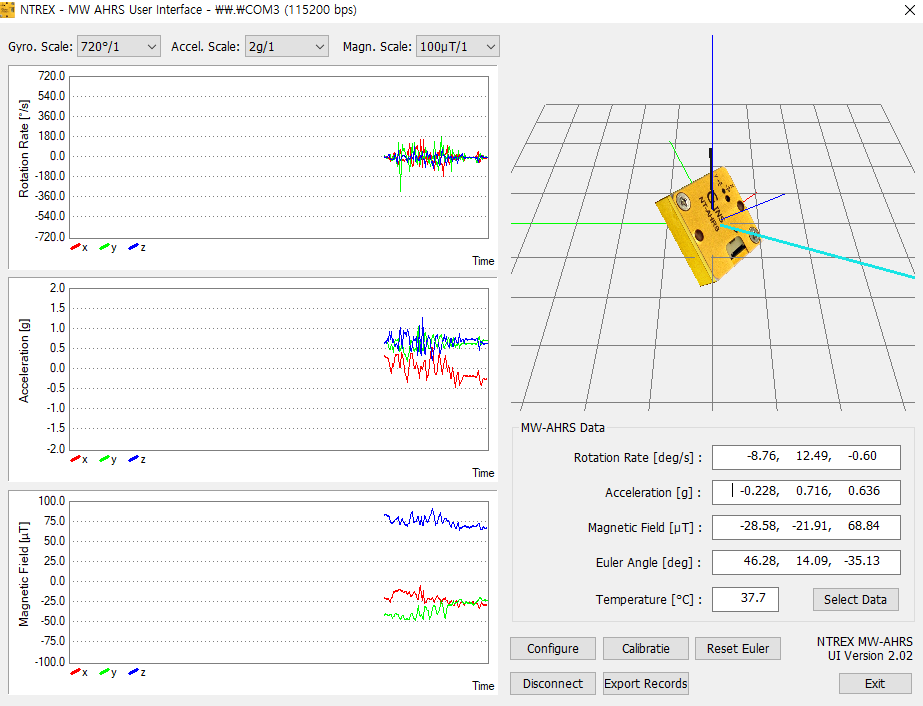
Fig 3. Check connection with supported UI.
Connect IMU with PC – ‘Connect’ button – Select Port – OK – ‘Select Data’ button – Check ‘Gyroscope’, ‘Acceleration’ and ‘Magnetometer’.
3. MW-AHRS IMU ROS Package Build
github page : https://github.com/roasinc/mw_ahrs_ros
$ cd ~/catkin_ws/src/
$ git clone https://github.com/roasinc/mw_ahrs_ros.git

$ cd ~/catkin_ws/
$ rosdep install --from-paths src --ignore-src - y
$ catkin_make
$ sudo cp ~/catkin_ws/src/mw_ahrs_ros/rules/99-mwahrs.rules /etc/udev/rules.d/
$ sudo udevadm control --reload-rules
$ sudo udevadm trigger4. Run MW-AHRS ROS Launch and Results
Before run roslaunch, you should add your group to dialout.
You can check ttyUSB0 port belongs to group dialout with following command.
$ ls -l /dev/ttyUSB0You can add your group to dialout with following command.
$ sudo usermod -a -G dialout [username]After that, please reboot computer.
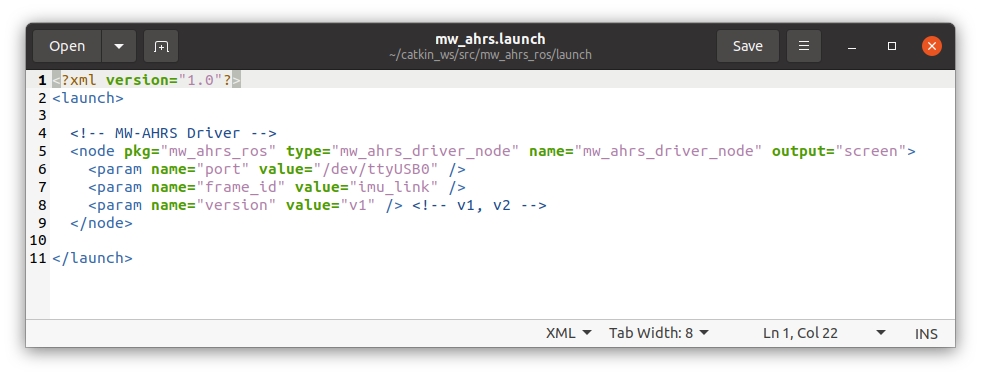
Fig 5. launch file configuration
Please change launch file configuration according to your hardware (AHRS v1 : v1, AHRS v2 : v2).
After that, you can receive ROS topic by following command.
$ source ~/catkin_ws/devel/setup.bash
$ roslaunch mw_ahrs_ros mw_ahrs.launch
Now you can receive following ROS topics.
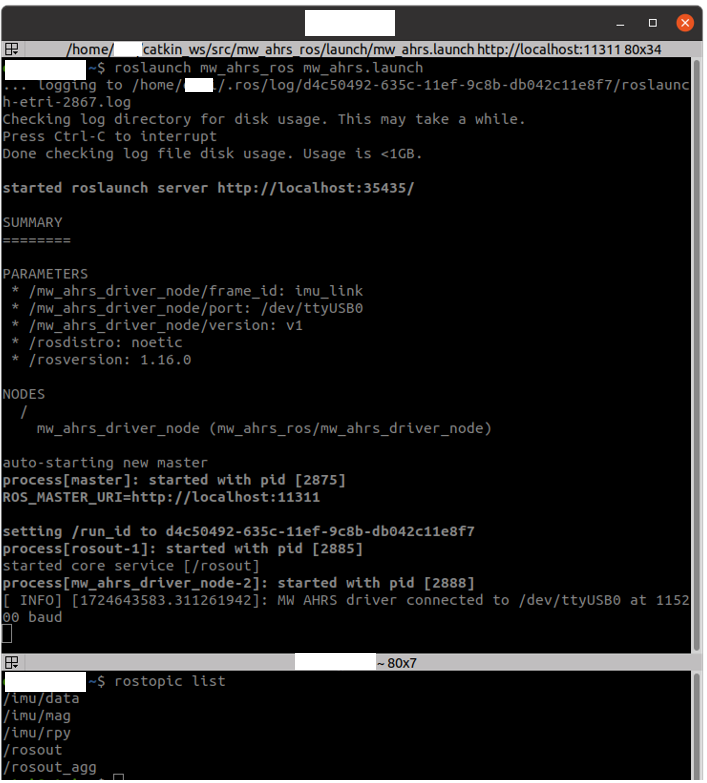
Fig 6. ROS topics results
[Reference]
(1) https://github.com/roasinc/mw_ahrs_ros